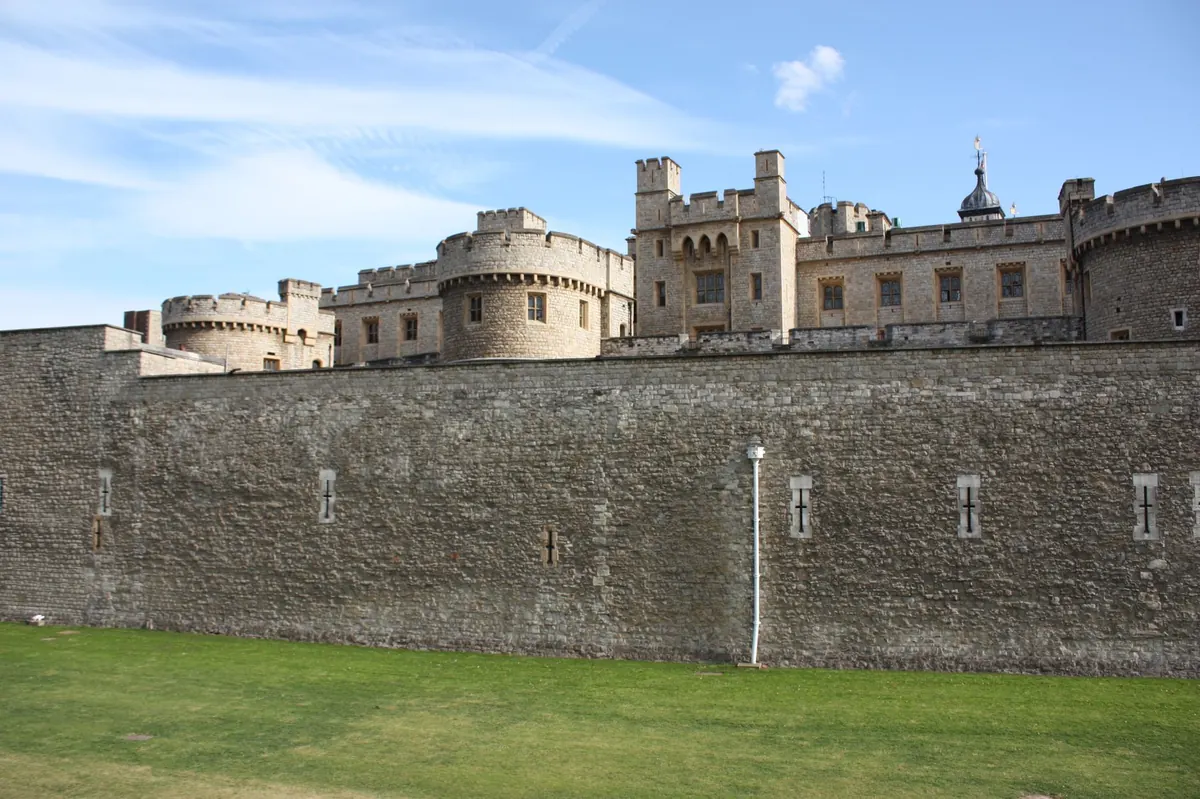
A folly is architecture with the useful bits taken out. No beds, no plumbing, no reason to exist except the pleasure of looking at it: a miniature temple at the end of a gravel path, a sham ruin half-swallowed by ivy, a shell-encrusted alcove with a bench inside. That uselessness is precisely the appeal, and it is why follies suit gardens of almost any size.
The catch is that "no practical purpose" does not mean "no preparation". A folly is still a building. It needs a firm base, materials that will survive a British winter, and in many cases a quiet word with the local planning authority. Sort those three things first and the enjoyable part — columns, rubble, a little domed roof — tends to go smoothly.
Start with the idea, not the materials
Before you look at a single brick, decide what the folly is for. Most fall into one of four jobs: a focal point seen from the kitchen window, a sheltered place to sit, an eyecatcher marking the end of a path, or a handsome screen hiding a shed, a bin store or a compost heap. A 2m brick alcove with a bench solves a different problem from a 4m ruined arch, and the two want completely different footings.
Write down three things: where you will look at it from, what it needs to conceal, and whether anyone will actually go inside it. Then mock it up. Canes and string cost nothing and will tell you more in ten minutes than a fortnight of sketching. Stand at the window at breakfast, at dusk and in the rain, and see whether the proportions still please you.
Choose the site and get the scale right
Follies fail when they are too big for their setting. A temple that dominates a small garden stops being charming and starts being an extension. Aim for something that reads as scenery. Partly hidden is often better than fully exposed: glimpsed through planting, revealed at a turn in the path.
Site questions worth answering honestly:
- Trees. Roots, leaf litter and honey fungus are all real hazards. Keep a sensible distance from mature trees and check whether the canopy will drop debris on your roof.
- Levels and drainage. A hollow that collects water will undermine a base slowly and invisibly.
- Sun. Where you want to sit, and where moss and algae will colonise.
- Sightlines. From the house, from the main path, and — worth a moment's thought — from next door.
- Access. Can you get a barrow, a mixer and a pallet of bricks to the spot? If not, plan for smaller loads.
Permissions: check before you dig
The rules differ in detail across England, Scotland, Wales and Northern Ireland, but the pattern is similar. Small garden structures often fall within permitted development, subject to limits on height, position and footprint. As a rough guide, outbuildings within about 2m of a boundary are usually capped at around 2.5m high, and structures forward of the house's principal elevation are generally treated differently. Do not rely on that summary. Check your local planning authority's website, or ring the duty planner, before you order materials. It costs nothing and can save a very expensive rebuild.
Where the rules tighten
- Conservation areas, where additional restrictions frequently apply.
- Listed buildings and their curtilage, where listed building consent may be needed.
- Article 4 directions, which remove some permitted development rights altogether.
- Flats and maisonettes, where the rights are generally more limited.
- Green belt, National Parks and Areas of Outstanding Natural Beauty.
- Boundaries, where excavation close to a neighbour's structure may bring the Party Wall etc. Act 1996 into play.
Building Regulations are mainly concerned with dwellings and habitable space, not with an unheated garden structure you will never sleep in — but the position changes if you plan to run mains electricity, install a wood-burning stove, or use the space as a habitable room. If any of those apply, speak to the local authority building control team first. For listed buildings, boundaries or anything involving a lease, take professional advice rather than guessing.
Pick materials that suit the setting and your skill level
The best garden follies look as though they have always been there, which usually means local, weathered and slightly imperfect. Reclaimed brick with lime mortar gives a soft, settled appearance. Rubble stone, dry-stone walling or a rendered and limewashed blockwork shell all work well; the render is cheap, quick and far more convincing than most people expect. Green oak framing and featheredge cladding are the friendliest options for a confident amateur. Cast stone and composites are light and consistent, though they can look flat close up.
Resist mixing too much. Two or three materials, repeated patiently, will read better than five competing ones.
Groundwork decides whether it lasts
A folly that leans, cracks or shifts is a running joke for all the wrong reasons. Even a light structure wants a proper base: usually a concrete strip or pad foundation, with depth depending on your ground and local frost conditions. On clay, on a slope, or within the root zone of a large tree, be more careful or seek advice. Add drainage — gravel, a French drain, a slight fall away from the structure — so water never sits under the base.
Then check for services. Mark where cables and pipes run before the spade goes in, using the utility provider's records or a cable avoidance tool. It is a five-minute job that prevents an extremely bad afternoon.
A sensible order of work
- Set out the footprint with canes and string, and check it against your sketches from every angle.
- Confirm permissions and, where relevant, get them in writing.
- Clear the site, strip turf, dig and pour the foundation. Let it cure properly.
- Build corners and verticals first, checking with a level as you go.
- Get a roof on before the weather turns, even if it is only a temporary cover. Flash and lead where needed.
- Point, render, clad and finish. Lime mortar wants slow drying, not a hot afternoon.
- Add power or water if planned, using a qualified electrician for anything on the mains.
- Plant around the base and let the weather do the rest.
Dress it, plant it, then leave it alone
A little roughness flatters a folly. Let a climbing rose scramble over one corner, or allow moss to take the shady side of the stone. A gravel path, two pots and a bench are usually enough. If you want a talking point, consider a false door, an urn on a plinth, a slightly ruined capping, or a plaque with an invented date carved into it. Clutter undoes the illusion faster than anything.
Before you start: a final checklist
- Purpose and sightlines agreed.
- Scale checked on site with canes, not just on paper.
- Planning position confirmed with the local authority.
- Underground services located.
- Foundation type, depth and drainage settled.
- Materials ordered in one consistent batch where possible.
- Access and a plan for removing spoil.
Build something small first if you are new to this. A modest alcove or a brick plinth with an urn will teach you more about mortar, levels and proportion than any amount of reading, and it gives you somewhere to stand and admire the next one while you plan it. Follies improve with age; yours only has to be good enough to start.